
Orange Crush!!
Part 6!
(click here for printer friendly .pdf file)
Putting it All Together!

I'm sure you guessed this was another "on point" setting with all of those half and quarter blocks! Have you played with them on the floor already? I sure had fun playing with mine! I spent the day at my friend Mary's house where four of us gathered to have a "Sew In"! They witnessed me crawling over the blocks and laying them out and then sewing them into this top!


There I was, laying out my blocks on Mary's carpet! I used ALL the available space in her hubby's office area. His comment? NICE ORANGE!! (I think so too)
Lay out your spinning star blocks 5 across and 6 down on point. Notice how the 4 patches in the center of the spinning star blocks all go ACROSS the quilt. Fill in the open areas with the album blocks, half album blocks as setting triangles, and quarter album blocks as the corners.
Lay out your spinning star blocks 5 across and 6 down on point. Notice how the 4 patches in the center of the spinning star blocks all go ACROSS the quilt. Fill in the open areas with the album blocks, half album blocks as setting triangles, and quarter album blocks as the corners.


I work on the quilt top in two halves. I start in the upper left corner and work to the center. And then I start in the bottom right corner, working back up towards the center. Then I only have ONE unwieldy seam to join the two halves together. I press after each row is joined. be very careful because this is an on-point quilt, the fabric bias can really get wonky.
My original plan was to use plain borders, but you know what? I had extra split four patch units! I'd been building more as leaders and enders and I thought it would be fun to use them in the border.

This is a split 4 patch goose!
Do you see that ugly corner square in the upper left?? My dear friend Lucy had some fabric I really wanted from her, and when she said she'd give it to me, she said it comes with a PRICE! If I took the pretty fabric, I had to take the UGLY fabric with it!! Now what kind of friend is that? :cD (A great one!) I took that piece and cut it all into 2" squares, to use as leaders and enders. As a result there is a piece of this "ugly" fabric in several of my quilts, and every time I use it I point it out to her....see?? If you cut it SMALL it just isn't THAT ugly! (Okay, maybe it IS!! but it makes me smile none the less).
If you want to do the pieced border you will need 48 pairs of split 4 patches, or an additional 96 split 4 patches! I know it's a lot, but it really adds to the quilt, and by now you have these down to a system, right? You can find the directions for the split 4 patches back in part two.
To get these to fit the quilt center, we are going to work a bit backwards. Sew all the 96 split 5 patches into dark flying geese pairs as above. You will also need 4 more 4 patches sewn from 2" squares as in the spinning star blocks found in part one.
Sew two rows of 11 geese and two rows of 13 geese. The long dark edge of each goose unit is what is going to go along the edge of the quilt.

On each end of the 11-goose borders, sew a 4 patch corner as shown above, with the squares rotated in such a way that it makes a checkerboard in the corner.
Now I want you to do some math. I know you can do it. You've made it this far!
Smooth your quilt top out on the floor. When you smooth, smooth the top along the grain of fabric, pushing from the center of the quilt out towards the four corners. You want to smooth with the grain, not with the bias. We don't want to stretch it out of shape, right? Now measure your quilt through the center from top to bottom. This is measurement "A".
Now, measure your 13-goose borders. This is measurement "B". What is the difference? This difference is measurement "C"
My quilt center measured a bit over 63 1/2" X 76 1/2"
My 11 goose border measured 66 1/2". To get the quilt center adjusted so the goose border would fit the quilt sizes, I had 3" to make up for. (Measurement "C" above) So I split that 3" into two halves, or 1 1/2".
This is the FINISHED measurement, remember? So I had to add a 2" CUT inner border all the way around the quilt center to get the outer border to fit right.
Your own measurements may differ a bit, and that is why I am describing this here. The black inner border is the spacer border you use to get your goose border to fit your quilt center. Always remember to add the seam allowance back into the finished measurement when you cut your strips or they will come out 1/2" too narrow and you'll have a wavy goose border.
Your inner border measurement may be DIFFERENT than my 2" strips. You might have 2 1/4" strips, or you might need 1 3/4" strips. This will be YOUR measurement.
You might even need a different width for the top and bottom borders than you do for the sides. This is okay!
So here we go!
Measure the quilt center from top to bottom and cut two inner black borders this length. Sew to quilt sides, pinning to match centers and ends and easing where necessary. Press seams towards black border.
Measure the quilt center from side to side through the middle of the quilt, and cut two borders (top and bottom) this length. Sew to quilt top and bottom, pinning to match centers and ends and easing where necessary. Press seams towards black border.
Stitch a 13-goose border to either side of the quilt center. Press seams towards black inner border.
Stitch an 11-goose border with attached 4 patch corners to the top and bottom of the quilt top. Press seams towards the black inner border.


 Things to remember! Problem: The quilt top is slightly longer than the border. Solution: Sew with the quilt top on the bottom, when you put it through the sewing machine.
 Your sewing machine’s feed dogs will help resolve the problem by easing in the excess fabric.
Problem: The borders are slightly longer than the quilt top. Solution: Sew the border on with the border fabric next to feed dogs underneath the quilt.

Would you believe I just got the quilt quilted last night? What color of thread would you use to quilt a quilt called Orange Crush? ORANGE of course! I quilted with feathers and leaves in a dense pattern. I love the texture it gave!

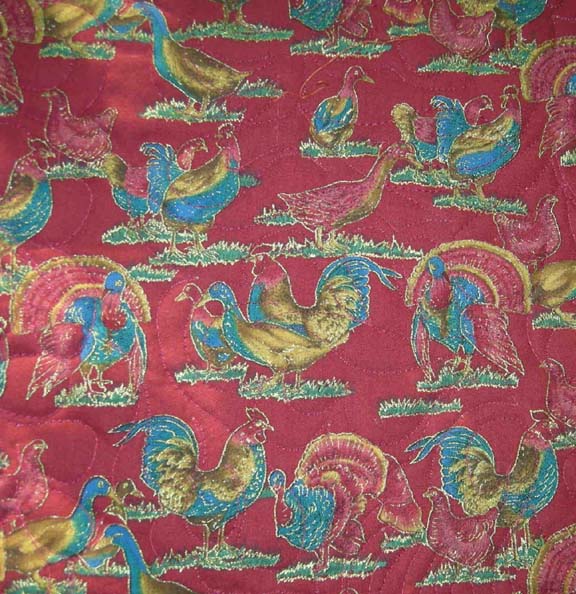
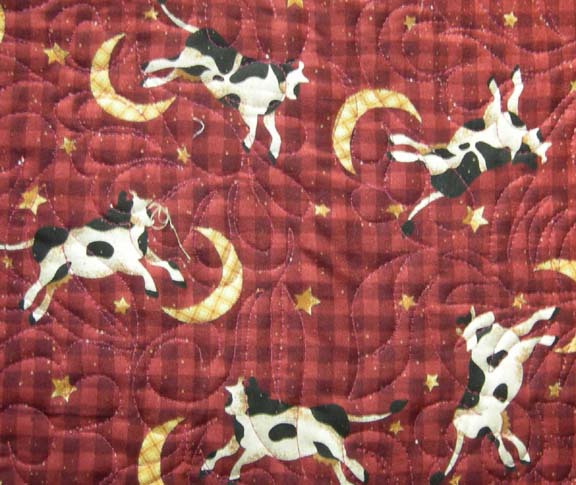
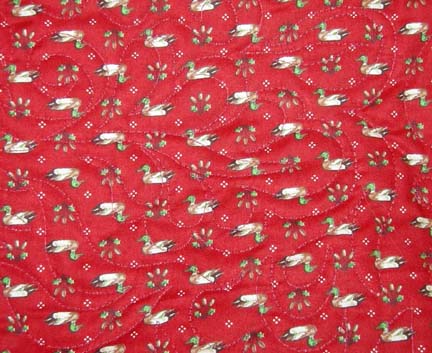
I also cleared out a bunch of red fabrics with a barnyard theme from the "get rid of it NOW" stash! I've got hoffman chickens and turkeys, I've got cows jumping over moons (And I'm happy to say that other than scraps, this fabric is now ALL gone!) and I've got a 1990's vintage ducks and cattails!
Because I wanted to send this out to you, I won't wait until it's bound to do so. But I will update the pics on here when I do get the binding done.
Because I wanted to send this out to you, I won't wait until it's bound to do so. But I will update the pics on here when I do get the binding done.
I hope you enjoy your Orange Crush quilt as much as I have enjoyed designing this series for you!


I just finished sewing the top together. All 1,526 pieces into one GORGEOUS quilt!
ReplyDeletehttp://pamelynspostings.blogspot.com/2012/09/first-day-of-autumn.html
Love it! Your instructions are great. Thank you for sharing the mystery project. I'm going to check out your other patterns to see if there's something else I can make!
Here's a better picture of Orange Crush as I showed it to the members of the Second Saturday Quilting Club in Latham, NY.
ReplyDeletehttp://pamelynspostings.blogspot.com/2012/10/orange-crush-mystery-project-done.html
My husband has officially claimed this one as his. I'm going to have to make another! :D